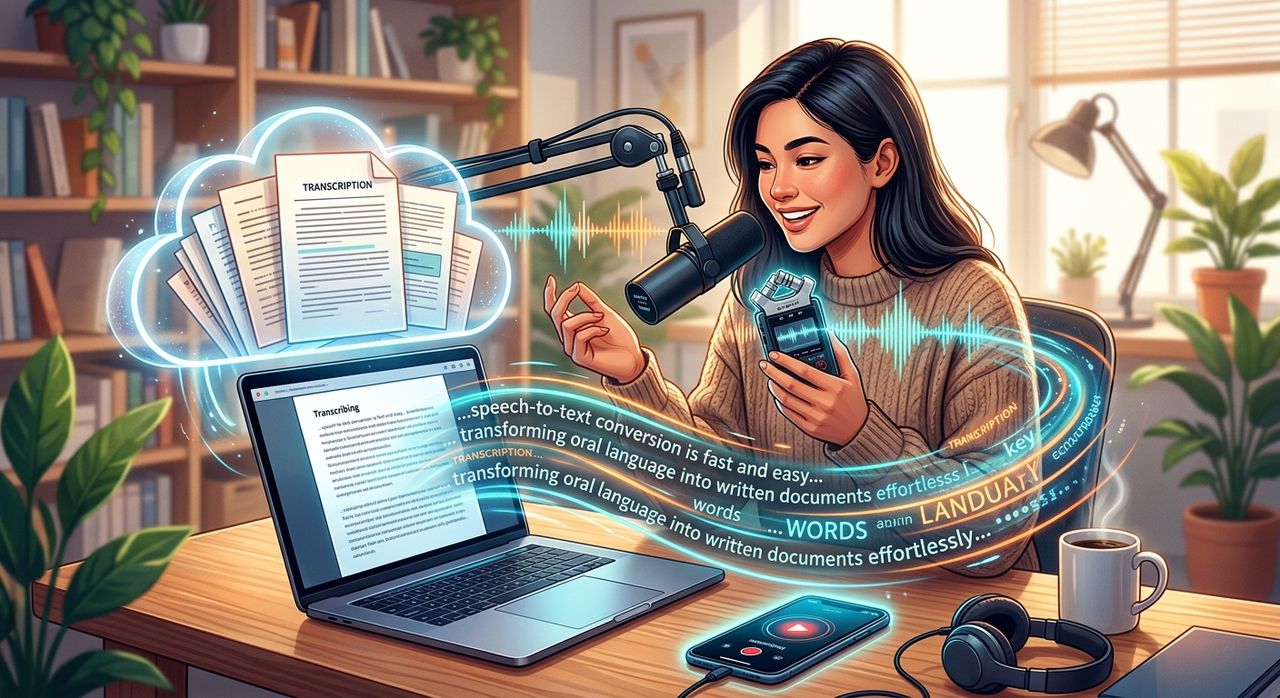
You spent an hour recording a tutorial. Or maybe you wrapped up a podcast interview that covered genuinely useful ground. The audio is great, but it lives in one place, reaches one kind of audience, and disappears from search results the moment someone closes the tab. That is the problem with audio and video on its own. The fix is not complicated. You take what you recorded and turn it into text, and suddenly the same content pulls weight in a completely different way.
What You Will Get From This Article:
- Why written text from audio and video matters for both SEO and accessibility
- How audio file format affects your ability to upload and transcribe efficiently
- A straightforward three-step workflow: convert, upload, transcribe
- Where a video transcript tool fits into that workflow without adding manual labor
- What to do with the text once you have it
Why Text Versions of Audio Content Actually Matter
Search engines cannot listen to your podcast. They cannot watch your tutorial. What they can read is text, and that text is what determines whether your content shows up when someone types a question into Google.
This is not a trick or a workaround. It is how search has always worked. A transcription) converts spoken language into written form, and that written form becomes indexable content. Blog posts, show notes, and article versions of your recordings all give search engines something to work with.
Accessibility is the other side of this. A meaningful portion of internet users rely on written text because audio content is not accessible to them. Deaf and hard-of-hearing audiences, non-native speakers following along, and people in environments where they cannot play audio all benefit when you provide a text version. It is not just good practice. In many contexts, it is expected.
And there is a practical angle too. Written content can be reformatted, quoted, summarized, and shared in ways audio simply cannot. A single recorded session can become a blog post, a set of social captions, a newsletter section, and an FAQ page. All of that starts with getting the words out of the audio file.
The Format Problem Most People Run Into
Here is where audio and video professionals hit a snag. Your recorded file might be in a format that transcription tools struggle with. A raw `.mov` from a screen recording, an `.opus` file from a voice memo app, or a `.flac` from a studio session may not upload cleanly to every platform.
This is not a rare edge case. It is one of the most common friction points in the convert-to-content workflow.
The solution is straightforward: convert the file first. Audio converters handle this before you even think about transcription. You take the source file, convert it to a widely accepted format like MP3 or MP4, and then move to the next step. That intermediate step removes nearly all upload errors and compatibility issues down the line.
Common formats that cause trouble when skipped:
- `.opus` and `.ogg` files from mobile recordings
- `.flac` and `.aiff` from high-quality audio setups
- `.mov` and `.mkv` from video recordings that need audio extracted
- Older `.wma` files from Windows-based recorders
Once the file is in a standard format, the rest of the workflow moves much faster.
The Three-Step Repurposing Workflow
This is the core of what makes audio-to-text practical. It does not require expensive software, a team, or hours of manual effort. It requires three steps done in the right order.
- Convert the file. Take your source recording and convert it to a format compatible with the tool you plan to use. MP3 works for audio-only content. MP4 works for video with audio. This step is the foundation. Skip it and you risk upload failures or transcription errors later.
- Upload to a transcription tool. Once the file is in the right format, upload it to a transcription platform. Most tools accept audio or video directly. Some work from a URL. Either way, the upload is usually the fastest part of the process.
- Get readable text back. The tool processes the audio and returns a written transcript. From there, you edit for readability, structure it as needed, and publish it where it fits.
That is genuinely the whole workflow. The complexity most people imagine is usually the result of starting with an incompatible file and not knowing what to do from there.
Where Video Content Fits Into This
A lot of recorded content lives on video platforms before it goes anywhere else. Tutorials get uploaded to YouTube. Interview recordings get shared as video files. Webinars stay as video replays. Getting text out of these requires the same basic steps, but there is a tool specifically suited for video-hosted content.
If your content is already published as a video, you do not need to download, convert, and re-upload anything. You can transcribe Youtube videos directly by pointing a transcript tool at the video URL. The tool handles the extraction and returns readable text without any manual typing on your part.
This matters most when your backlog is large. If you have twenty recorded tutorials already up somewhere, going through the convert-and-upload process for each one is time-consuming. A URL-based tool skips all of that and gets you to the text faster.
The output is still a raw transcript, which means you will need to clean it up. But you are cleaning up existing text rather than typing from scratch, which is a fundamentally different workload.
What to Do With the Text You Get Back
Raw transcripts are a starting point, not a finished product. They need some shaping before they are useful as content.
Here is what that shaping process usually looks like:
- Remove filler words and false starts, things like "um," "you know," and repeated phrases
- Break long blocks of speech into shorter paragraphs for readability
- Add headings to separate distinct topics within the recording
- Pull out strong quotes or key points to highlight
- Add context where the speaker assumed visual information the reader does not have
After that editing pass, you have something publishable. The same transcript can become multiple pieces of content depending on how you structure it. A long-form post uses most of the text. A summary post pulls the highlights. A listicle reformats the main points. All of it started with one recording and one transcription.
Making This a Repeatable Part of Your Content Process
The first time you do this, it feels like extra work. The second time, it starts to feel like a system. By the third or fourth time, it becomes automatic.
The key is treating transcription as a built-in step rather than a bonus task. Every time you finish a recording, the next step in your workflow is conversion and transcription. You do not wait to see if the audio gets traction first. You build the written version as part of the same production cycle.
This shifts how much mileage you get from each piece of recorded content. A 45-minute interview that previously existed only as an audio file now also exists as a searchable article, a set of social posts, and a structured FAQ. The recording time stays the same. The return on that time increases significantly.
From One Recording to Long-Term Written Value
Audio and video are good at capturing things in the moment. A conversation, a tutorial, a live Q&A session. But the moment passes. Written content does not pass in the same way. It stays findable, linkable, and shareable long after the original recording would have been forgotten.
If you are already doing the work of recording, converting, and editing audio files, you are closer to written content than you probably realize. The steps between a finished audio file and a published article are fewer than most people expect, and the tools available now make each step considerably lighter than it used to be.
Your recordings are not just audio files. They are drafts waiting to be formatted.