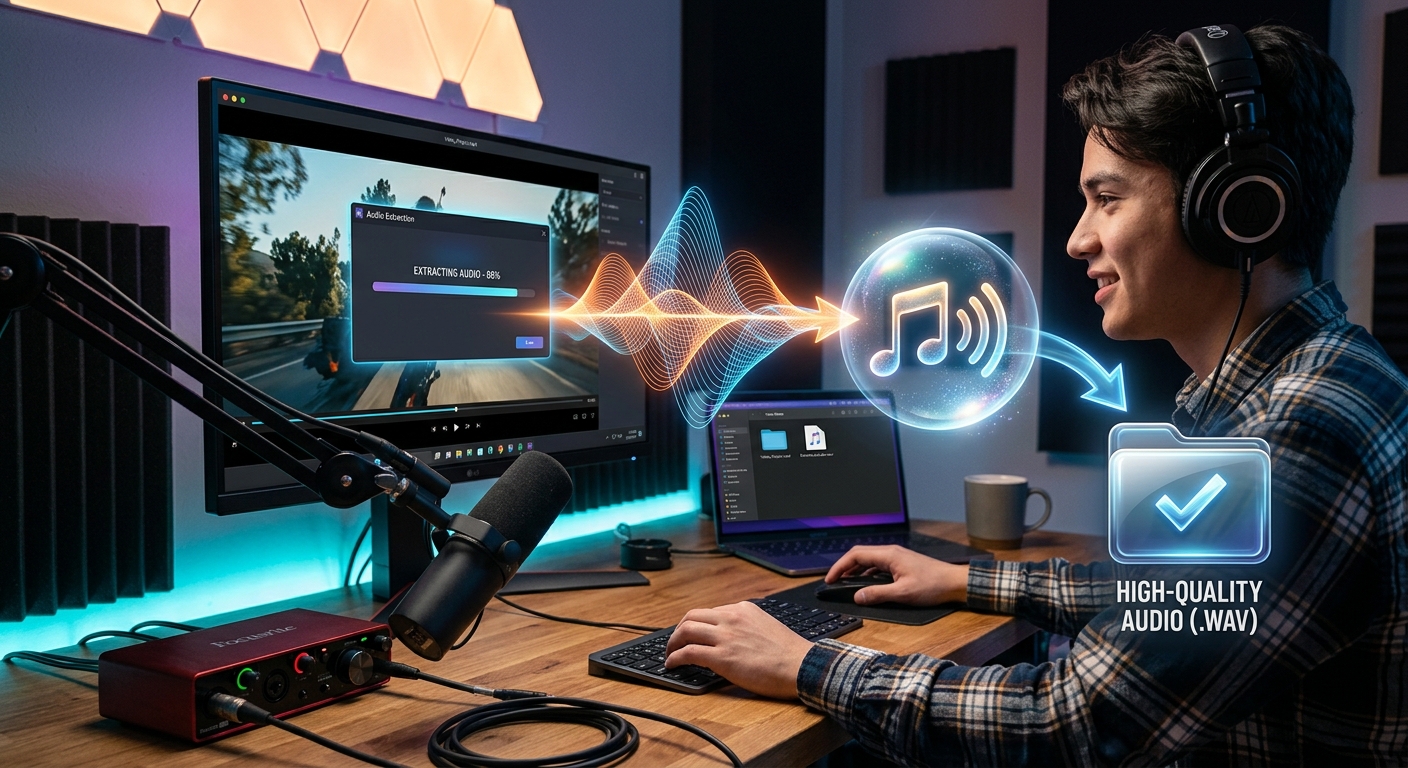
You recorded something worth keeping. Maybe it was a video call interview, a live acoustic performance, or a narrated screen recording that ended up being perfect. The audio is the part that matters. And right now it is locked inside a video file you have no use for. Pulling the sound out is simpler than most people expect. The part that trips people up is doing it without quietly damaging the quality along the way.
Before You Extract: The Core Idea
Extracting audio from video means separating the sound track from the picture. No quality is lost in the separation itself. Quality only drops when you save to a compressed format at a low bitrate, or when a tool re-encodes the audio unnecessarily. Knowing which format to save as, and how to avoid extra conversion passes, is what keeps your audio sounding exactly as it did in the original file.
The Most Common Reasons to Pull Audio from a Video File
There are more situations that call for this than most people realize. Video files are large. They eat storage space and take time to transfer. Once audio is extracted, it becomes portable and easy to work with in any audio context.
- A recorded video interview needs to become a podcast episode
- A live performance was filmed but the musician only wants the audio track
- A virtual meeting contains an important voice note that needs archiving
- A film clip has a music track worth isolating for a separate project
- A voiceover was accidentally recorded inside a screen capture
- A video essay contains narration a creator wants to repurpose for audio-only platforms
Each situation calls for the same move: separate the audio stream from the video stream, then save it in the format that fits what you are doing next.
Why Audio Quality Gets Damaged During Extraction
Here is the part most guides skip. The audio inside your video file already has a fixed quality level. It was captured at a specific sample rate and bitrate when the recording was made. That ceiling cannot be raised after the fact. You can only preserve what is already there, or lose some of it.
The damage almost always comes from re-encoding. Re-encoding means a tool converts the audio through an intermediate format before saving it. Every conversion pass introduces small compression losses. With low-quality tools, those losses are audible. With browser-based tools that do a single direct conversion, the losses are minimal.
The goal is to extract the audio track cleanly, with as few processing steps as possible, and then convert once to the format you actually need.
How to Extract Audio from a Video File Step by Step
You do not need to install anything to do this. A browser handles it cleanly for most video formats including MP4, MOV, AVI, MKV, and WebM. Here is the full process from start to finish.
- Open your browser and go to an online audio converter that accepts video files as input.
- Upload your video file. Most tools let you drag a file in or browse for it from your computer. Select your video and let it upload fully before moving on.
- Choose your output audio format. MP3 is the most compatible choice for general use. WAV is better if you plan to edit the audio afterward. AAC works best for Apple devices or streaming platforms.
- Set the bitrate. For MP3, 192kbps delivers clean results for voice and podcasts. 320kbps is worth using for music. Avoid anything below 128kbps unless file size is a strict constraint.
- Start the conversion and wait for the tool to process your file. Browser-based tools typically handle this in under a minute for files under 500MB.
- Download the audio file. Rename it, save it somewhere organized, and you are done. The video and audio now exist as separate files.
That is the complete process. No account required, no software to install, and no file sitting indefinitely on a third-party server.
What Happens Inside the Video File When You Extract
A video file is a container format. Think of it as a single folder holding two separate streams: the video stream and the audio stream. The container, whether it is an MP4, MOV, or AVI file, just packages them together for playback. When you extract audio, you are pulling the audio stream out and saving it independently.
The audio stream inside a video might already be in MP3, AAC, or PCM format depending on how the video was recorded. A good extraction tool identifies this and converts directly to your chosen output format in a single pass. A poor tool routes through multiple intermediate formats, and each pass costs you a small amount of quality.
Choosing the Right Format for Your Extracted Audio
Once the audio is extracted, the format you save it as determines its file size, compatibility, and whether it can be cleanly edited later. AAC encoding is notably efficient at lower bitrates, which is why it became the standard for Apple devices and most major streaming services. MP3 remains the most universally playable format across all devices and platforms. WAV stores audio without compression, making it the preferred choice for any work that involves further editing.
Audio Format Guide: File Size, Quality, and Best Use Cases
| Format | File Size | Best For | Quality Notes |
|---|---|---|---|
| MP3 | Small | Podcasts, sharing, streaming | Lossy compression; sounds clean at 192kbps and above |
| WAV | Large | Editing, archiving, studio projects | No quality loss; largest file size of any common format |
| AAC | Small to medium | Apple devices, iTunes, streaming platforms | Lossy but efficient; cleaner than MP3 at the same bitrate |
| FLAC | Medium | High-quality archiving, audiophile use | Lossless compression; smaller than WAV, growing platform support |
For most everyday use, MP3 at 320kbps handles nearly every situation. It plays on every device and platform without issues, and the file stays small enough to email or attach to a message. WAV is the right call when handing audio off to an editor or mixing it into a larger project. AAC makes sense when delivering audio to iPhone or macOS users, or submitting to a platform that specifically prefers it.
Habits That Quietly Damage Your Extracted Audio
Most quality loss in extracted audio does not come from the extraction itself. It comes from small decisions made around it. These are the patterns worth avoiding every time.
- Saving to MP3 at 64kbps or 96kbps when the original audio is clearly higher quality
- Running the same file through multiple conversion tools before settling on a final format
- Using a tool that silently applies noise reduction or auto-normalization you did not request
- Expecting high-quality output from a video that was already heavily compressed before you received it
- Ignoring the sample rate setting and accidentally downsampling from 48kHz to 22kHz
- Saving in a lossless format like WAV and then compressing it to MP3 at a low bitrate as a second step
The original recording sets your ceiling. If the video was captured with a decent microphone in a quiet space, the extracted audio will sound excellent. If it was filmed on a phone at a noisy event, no conversion process will fix that. What you can control is not making it worse.
From Video File to Ready-to-Use Audio: The Final Step
Extraction is only half the job. The second half is saving the resulting file in a format that actually fits where it is going. A podcast episode ships as MP3. A raw session recording stays as WAV until the mix is finished. A voice note headed to an iPhone gets saved as AAC. Each output has a format that matches it cleanly, and choosing the right one takes about ten seconds once you know the options.
None of this requires audio engineering knowledge. It requires knowing what you need the file to do, and picking the format that handles it. With a browser-based tool, you can go from a bulky video file to a clean, properly formatted audio file in a few minutes with no installs and no learning curve. The original sound quality stays intact. The video stays out of the way. And the audio ends up exactly where it needs to be.