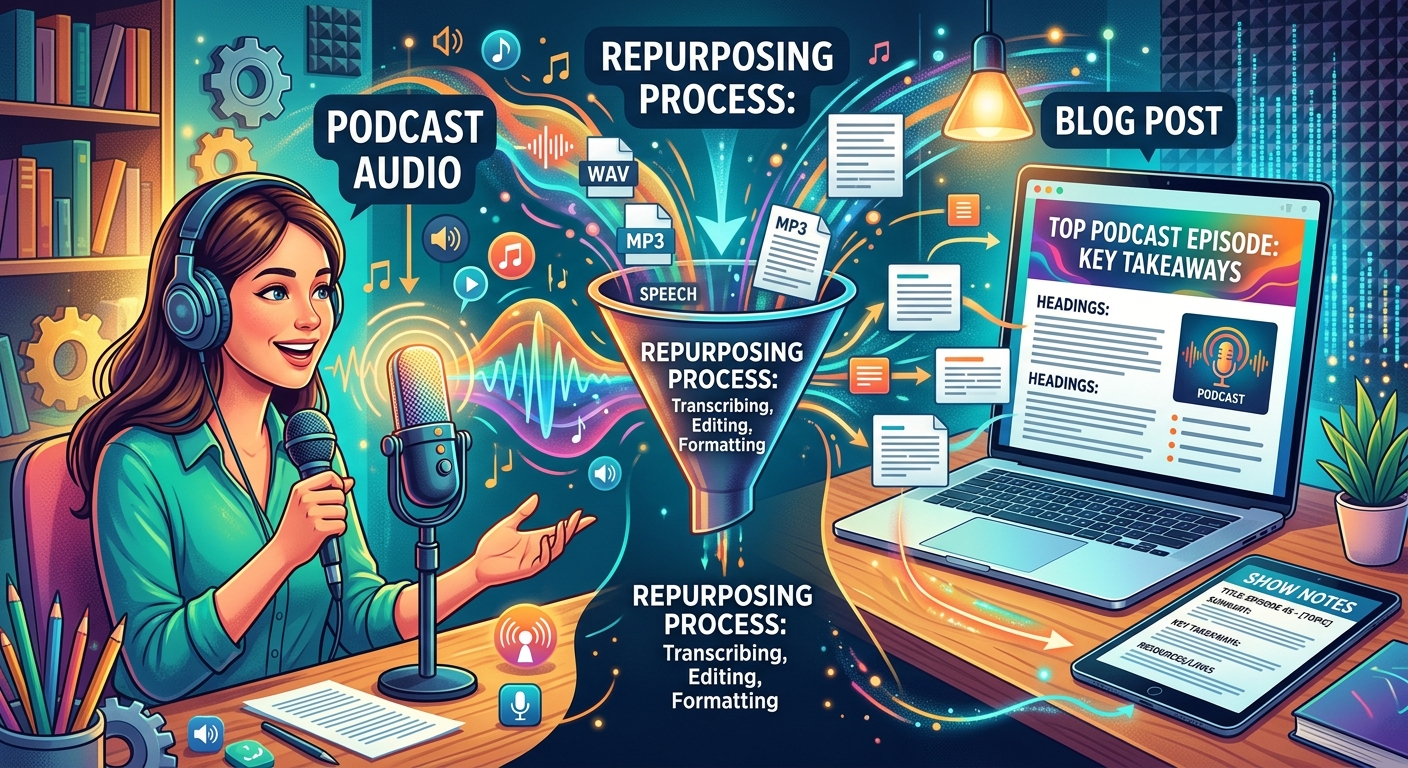
Most solo podcasters put everything they have into an episode and then ship it. The recording gets uploaded, the feed updates, and a week later the cycle starts again. That pattern works for publishing, but it burns a lot of creative energy on content that gets heard once and then sits quietly in a feed. The good news: every episode you finish already contains your next blog post, a strong set of show notes, and quote material you can use anywhere. You just need a clear workflow to extract it all. This guide covers the full process, from choosing the right audio format before you start recording, through converting files for different platforms, all the way to turning your transcript into written content ready for publication.
Episode Workflow Snapshot
- Record in a lossless format like WAV, then export to MP3 or AAC for distribution.
- Free browser-based transcription tools can produce a text version of your episode without any software.
- If your transcript arrives as a PDF, convert it to an editable file before you start cleaning it up.
- Show notes and blog posts have different purposes and need different editing passes.
- Every tool in this workflow is free and runs in a browser, with nothing to install.
Start With the Right Audio Format Before You Hit Record
The format you choose at the recording stage shapes everything that comes after. Most audio editors and DAWs default to WAV or AIFF, and that is exactly where you want to be. These are uncompressed formats. Every nuance of your voice is captured without any quality being thrown away. If you later need to trim a section, boost volume, or run the file through noise reduction, you are working from the best possible source.
MP3 is what most people think of as the podcast format, but it is a compression format designed for distribution, not for recording. When audio is compressed to MP3, data is permanently removed to shrink the file. That is a smart trade-off for a listener streaming on mobile. It is a poor trade-off when you are still in the editing stage, because every re-export compounds the quality loss.
The practical approach: record and edit in WAV, then export to your distribution format at the very end. Keep the WAV file as your master. Storage is cheap, and having a clean master means you can always create a new export if platform requirements change later.
Matching Your Export Format to Each Destination
Once your episode is edited and ready, the format you export to depends on where it is heading. Podcast hosting platforms, YouTube, embedded players, and long-term archive storage all have different needs. Getting the format right means smaller files, faster loading, and better compatibility for your listeners.
Audio Format Reference for Podcast Exports
| Format | Best For | Typical Size | Notes |
|---|---|---|---|
| WAV | Recording master and editing | ~10 MB per minute | Lossless; full quality preserved |
| MP3 | Podcast hosting, broad compatibility | ~1 MB per minute at 128 kbps | Standard for speech-based shows |
| AAC | Apple Podcasts, video platforms | ~0.75 MB per minute at 128 kbps | Better quality than MP3 at the same file size |
| FLAC | Long-term archiving | ~4, 5 MB per minute | Lossless compression; not widely streamed |
For most podcast hosts, MP3 at 128 kbps in mono is the standard setting for a voice-only show. It produces manageable file sizes without any noticeable quality drop for spoken audio. If you are also putting episodes on YouTube or embedding video versions on a website, AAC is worth using as your export format there instead.
Getting a Transcript From Your Episode Without Spending Money
A transcript is the foundation of every piece of written content you will pull from your episode. Free transcription tools have become remarkably capable. You do not need to pay for a human transcriptionist to get a usable first draft. Several browser-based tools will generate a working transcript from your audio file in minutes, with no account required.
Transcripts also do something important beyond content repurposing. Publishing a text version alongside your episode makes your show accessible to deaf and hard-of-hearing audiences. The transcript guidance from the W3C Web Accessibility Initiative explains exactly why text alternatives matter for audio content, and following those principles means a bigger, more inclusive audience over time.
When choosing a free transcription tool, look for these qualities:
- No restrictive file size cap that blocks a 40-minute episode from uploading and processing.
- Speaker identification if you interview guests, so you are not untangling who said what by hand afterward.
- Timestamping built into the output, which makes it much easier to pull specific quotes later.
- Multiple export formats, not just PDF, so you have flexibility for the editing step that follows.
When Your Transcript Comes Through as a PDF
Many AI tools and transcription services deliver their output as a PDF. That is fine for reading, but PDFs are genuinely difficult to edit. You cannot easily rearrange paragraphs, fix misheard words, or reformat the layout without first converting the file into something a word processor can work with.
The fix is straightforward. Before you start editing your transcript, run it through a PDF to Word converter. The result is a .docx file you can open in Google Docs, Microsoft Word, or any other word processor. From there, cleaning up the transcript becomes a normal editing job rather than a battle with a locked file format.
Once you have the editable version, read through it once before doing anything else. Transcription tools make mistakes, especially with industry terms, proper names, or anything spoken quickly. A single pass to fix errors and add punctuation will save you from publishing something that reads like a jumbled stream of text. That first read-through also gives you a feel for the episode's natural structure, which matters for the next step.
Turning a Raw Transcript Into Polished Show Notes
Show notes are not a transcript summary. They are a companion document that helps listeners follow along, find mentioned resources, and revisit key moments. A well-written set of show notes keeps people on your episode page longer and gives search engines something substantive to index. Here is a repeatable process for building them from a cleaned-up transcript:
- Write a two or three sentence episode summary at the top. This is the first thing readers see, so make it specific to this episode rather than a generic description of your show.
- Pull out the three to five main topics covered and list them with timestamps. Readers use these to jump directly to the section they care about most.
- Extract the strongest quotes. One or two vivid sentences from the episode add life to the page and give you ready-made text for social posts.
- List every resource mentioned in the episode with working links. Books, tools, websites, people referenced , this is the section listeners bookmark and return to.
- Add a clear call to action. Tell readers where to subscribe, leave a review, or follow you. Keep it brief and specific to one next step.
That structure covers every practical need a listener has when they land on your episode page. And it takes far less time to write than starting from scratch, because the raw material is already sitting in your transcript waiting to be shaped.
Growing Your Show Notes Into a Full Blog Post
Show notes and a blog post are different products. Show notes live on your episode page and serve people who have already chosen to listen. A blog post is designed to be found by people who have never heard your podcast, arriving from a search result or a shared link. The goal of a blog post is to answer a question completely, not to summarize an episode.
Use your show notes as a starting draft and expand from there. The key difference is depth. Where a show notes section might say "we discussed content batching," a blog post version of that section explains what content batching is, why it matters for a solo creator, and how to start doing it. You are writing for a reader who has no audio to fill in the gaps.
A few habits that make this process faster and more consistent:
- Identify the single strongest topic from the episode and make that the focus of the blog post. Not everything in the transcript needs to appear in the post.
- Use H2 headings based on the topic sections you already pulled for show notes. The structure is mostly done before you start writing.
- Add a short introduction written for a search reader, not a loyal listener. They arrived from a search engine and know nothing about your show yet.
- End with a natural mention of the full episode for readers who want to go deeper, with a link to the player on your site.
Your Podcast Feed Is Already a Content Library
The workflow described here is not complicated, but it does require building the habit. When recording and distribution become routine, adding a transcript step and a writing pass starts to feel like a natural part of finishing an episode rather than a separate project.
The payoff compounds steadily over time. Each episode you publish adds not just an audio file to your feed but a searchable blog post and a polished episode page to your website. Listeners who find you through a blog post become subscribers. Readers who prefer text over audio stay on your site because the written version is there for them. The audio and the written content reinforce each other in a way that neither does alone.
Start with your most recent episode. Convert the export to the right format, grab the transcript, move it into an editable document, and run through the show notes steps once. That single pass will tell you more about your own workflow than any amount of reading about it. The tools are all free, they run in a browser, and the whole process can be completed in one sitting once you know the steps.