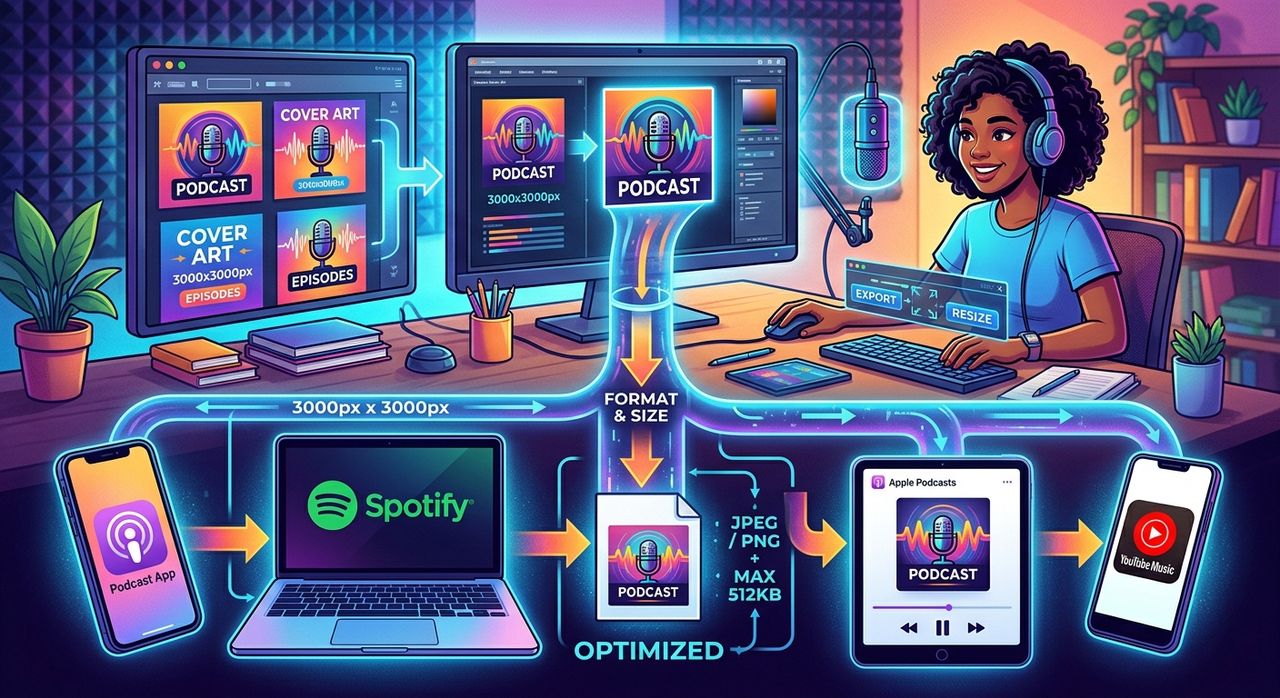
You spent real time on your podcast cover art. Maybe you hired a designer, maybe you built it yourself in Canva or Photoshop. Either way, you now have an image file sitting on your desktop, and you need it to pass the platform upload checks. That is where most creators hit a wall. The specs are specific, the error messages are unhelpful, and the last thing you want is to spend another hour figuring out why Spotify keeps rejecting your file.
This guide walks you through the format and file size requirements for the major podcast platforms, and shows you exactly how to get your artwork across the finish line without losing the quality you worked for.
Key Takeaways:
- Spotify requires a square JPG at exactly 3000×3000 pixels, under 500 KB
- Apple Podcasts accepts images up to 3000×3000 and prefers RGB color mode
- You can hit file size limits by compressing your image without visible quality loss
- PNG format is worth keeping on hand for platforms where transparency matters
- Getting these details right the first time saves you re-upload delays and approval holdups
Why Image Specs Are Not Optional
Podcast directories are picky about artwork for a reason. Your cover art appears at dozens of different sizes across apps and devices, from a tiny 50-pixel thumbnail on a car dashboard display to a full 3000-pixel image on a retina screen. If your file is undersized, it looks blurry when scaled up. If it is oversized or in the wrong format, the platform's upload system rejects it outright.
The concept of lossy compression is central to understanding why JPG is the go-to format for most platforms. JPG files discard some image data to shrink file size, and when done well, the human eye cannot spot the difference. That trade-off is exactly what makes it possible to have a 3000×3000 pixel image that still fits under 500 KB.
What Spotify and Apple Podcasts Actually Require
These two platforms cover the vast majority of podcast listeners, so getting them right is the priority.
Spotify is the most explicit about its specs. Your cover art must be square at exactly 3000×3000 pixels, saved as a JPG, under 500 KB in file size, and in RGB color mode rather than CMYK.
Apple Podcasts is similarly strict. It accepts both JPG and PNG, requires a minimum of 1400×1400 pixels and a maximum of 3000×3000 pixels, and has its own upload size cap. Apple also requires RGB color mode, which trips up anyone who exported from a print workflow where CMYK is the default.
Other directories like Amazon Music, iHeartRadio, and Pocket Casts generally follow similar standards, accepting square images at 3000×3000 in JPG or PNG format. The podcast industry has largely converged on the 3000×3000 square as the standard, so designing to that dimension covers you across almost every major platform.
Checking Your Image Before You Touch the File Size
Before worrying about compression, confirm a few basics about your artwork file.
- Open your file in any image editor and check the canvas size. It should be exactly 3000×3000 pixels.
- Check the color mode. In Photoshop, go to Image, then Mode. In GIMP, go to Image, then Mode. You want RGB, not CMYK or Grayscale.
- Check the file format. If your file is a PNG and Spotify is your primary target, you will need a JPG version.
- Check the file size. Right-click the file and view its properties. If it is already under 500 KB, you may be done. If not, compression is your next step.
Most design exports land somewhere between 800 KB and 3 MB for a 3000×3000 image, which means compression is almost always necessary for Spotify.
Preparing Your File: Hitting the Size Limit Without Hurting Quality
This is where most tutorials either overcomplicate things or skip the most important detail. You do not need to reduce your image dimensions to hit a file size target. Resizing from 3000×3000 to 1400×1400 would technically shrink the file, but it also means your artwork will look softer on high-resolution screens, and you are throwing away image data you cannot get back.
The right move is compression, not resizing. A good compressor finds redundant data in the file and strips it out while preserving the visual detail that matters. To compress image files without visible degradation, adjust the quality setting until the file size drops below your target. For most podcast artwork, a quality setting around 75 to 85 percent gets you well under 500 KB while keeping the image looking crisp.
When compressing, watch two things. First, check the output file size after each compression pass. Second, zoom into your image at 100 percent and look at any text or fine details. Those are the first places to show compression artifacts. If the text still looks sharp and the gradients still look smooth, you are in good shape.
It is also worth noting that you should always compress from your original high-quality export, not from a file you have already compressed. Re-compressing a previously compressed JPG stacks the quality loss and produces noticeably worse results.
A Note on PNG and When Transparency Matters
Most podcast platforms want a JPG, and there is a good reason for that. JPG files are smaller, and solid backgrounds with no transparency are the norm for cover art. But PNG has its place in a podcast creator's workflow.
If you are adapting your artwork for YouTube, as a channel header, or as a thumbnail overlay inside a video editor, PNG becomes the better choice because it supports transparent backgrounds. That means you can drop your artwork over a colored layer without a white box appearing around it.
For those cases, a JPG to PNG conversion gives you a copy of your artwork with full color fidelity and the option to remove the background before placing it somewhere else. Keep the PNG version saved in your project folder alongside your JPG. It costs you nothing and gives you flexibility whenever a platform or layout needs it.
Just remember: when you submit to Spotify, send the JPG. When you need to layer your artwork inside a video or a composite layout, the PNG version earns its place.
Mistakes That Cause Uploads to Fail
Even experienced creators get rejected on the first try. Here are the most common reasons artwork submissions fail:
- Submitting a CMYK file because it was exported from a print template
- Uploading a PNG when the platform only accepts JPG
- Forgetting that 3000×3000 refers to pixel count, not physical print size
- Exporting at 72 DPI under the assumption that lower DPI means a smaller file (DPI does not affect web file size the way most people assume)
- Leaving a transparent layer in a JPG export, which causes some apps to render it with a black background instead of your intended color
Any of these can get your submission flagged, and fixing them after the fact usually means going back to your original design file, re-exporting, and re-uploading. Catching them now takes ten minutes. Discovering them after your show goes live takes longer.
From Artwork File to Approved Submission
Getting your podcast cover art right is mostly a checklist problem. You need the correct dimensions, the right format, the correct color mode, and a file size that clears the platform cap. None of those requirements are unreasonable once you know what they are.
Start with your 3000×3000 canvas. Export as JPG in RGB mode. Run the file through a compressor until it comes in under 500 KB. Check your text and detail areas at full zoom. If everything looks good, you are ready to upload. Keep your PNG version saved separately for anywhere that needs a layered or transparent version of your artwork.
Your cover art is the first thing a potential listener sees. Getting the file right means it shows up exactly the way you intended, at every size, on every platform, from the moment your show goes live.